How to Create Diaper Changing Stations in Every Room
Everywhere I searched online, it showed me how to set up a diaper station in the nursery. So, naturally, that’s what I did. But once my baby arrived, I realized something: I was climbing up to her room multiple times a day to change diapers.
Not exactly fun — especially when you’ve just delivered a baby and every stair feels like a mini mountain.
Then it hit me… why was I going upstairs every time? I can change a diaper anywhere in the house. All I really need are diapers and wipes within reach.
After a couple of rounds of trial and error (and one too many mid-change scavenger hunts for cream), I finally figured out how to set up quick, tidy, and functional diaper stations in every room. Here’s how I did it — and how you can too.
Why You Need Multiple Changing Stations
When your baby’s tiny, you’re changing diapers A LOT. The convenience matters more than anything. Having mini stations throughout the house means no more sprinting upstairs mid-blowout or waking your baby to try to move them to another room.
It’s especially helpful in those first 2 postpartum weeks when the doctor told you there’s a limit on climbing stairs. Having everything close by gives you a little more peace and a lot more sanity.
What You Actually Need in Every Station

You don’t need a fancy setup in every room, just the essentials, neatly organized. Here’s what I keep in each one:
- Diapers (3–5 per station)
- A full-size pack of wipes — because they clean everything: hands, faces, spills, car seats, you name it
- Diaper cream
- Disposable changing pads — quick, easy, and if they get dirty, just toss them. No need to clean it
- Plastic bags for dirty diapers or wet clothes
- A small toy or teether to keep the baby busy while you work fast
That’s it — simple, compact, and practical.
Smart Storage Ideas for Each Room
This is where things get fun and customizable. You can make each diaper station blend right into your space while still being functional. Here’s how I set mine up:
Living Room:
This is the space where we spend most of our time, so I wanted it to look tidy. I use a decorative woven basket with a lid. It hides all the baby gear but keeps it right where I need it.
Inside, I keep a stack of diapers, wipes, cream, and a few disposable changing pads. If you have a coffee table or side cabinet, you can store the basket underneath for easy access.
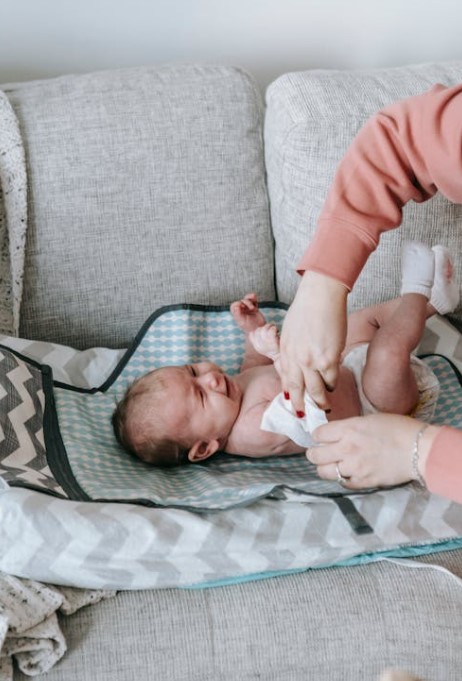
Bonus tip: add a small portable changing mat that folds flat, so you can change the baby on the couch or rug without stress.
Bedroom:
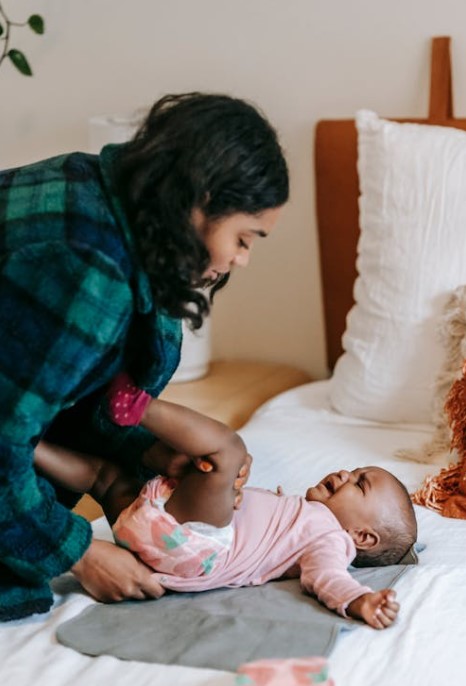
Nighttime changes are no joke, so I made sure to keep a mini setup next to my bed. I use a small fabric caddy that holds a few diapers, wipes, a travel-size cream, and a soft nightlight.
The nightlight is key. It gives just enough light to see what you’re doing without waking baby (or your spouse). I also keep a spare onesie nearby because blowouts don’t care what time it is.
During the newborn stage, I just changed my baby in bed. So I don’t have to get up at all. I just scoop the baby from the bassinet, feed and change in my bed. The disposable changing pad is key for me to do this.
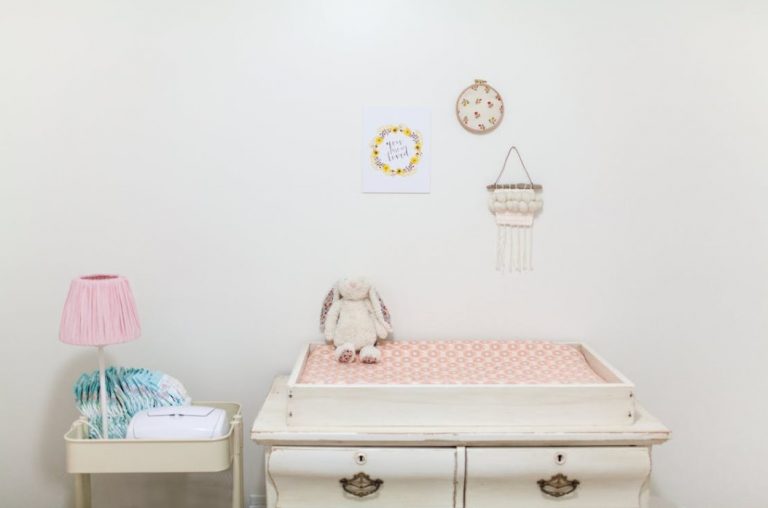
Nursery:

The nursery is my main base, the headquarters for diaper duty. This station has it all: a full pack of diapers, a big box of wipes, cream, and disposable changing pads on top of a comfy padded changing pad.
I also store bulk items here to refill the other stations. If you have a changing table, great; if not, a dresser with a changing pad on top works just as well. I actually prefer the latter. So you don’t have to buy something you just use for a few years, then done.
Bathroom:
The bathroom setup surprised me by being one of the most useful. I keep a small bin in a lower cabinet with wipes, cream, and extra diapers for quick changes after baths or messy mealtimes. It’s also great for cleaning up mid-day accidents. Everything’s already there.
Playroom or Downstairs Area:
For playtime and daytime changes, I use a lightweight, portable diaper caddy that I can grab and go. It’s filled with the basics and even has a few small toys or teethers to keep the baby distracted.
I can carry it between rooms, to the backyard, or even toss it in the car when we head out.
If you want to take it to the next level, try a rolling cart setup. I’ve seen some moms use three-tier carts to organize diapers, wipes, and creams by shelf. It’s mobile, tidy, and honestly kind of cute.
Keeping It Cute (Because Function Can Still Look Good)
Your home doesn’t have to look like a daycare. I like using baskets and bins that match my décor: soft neutrals, woven textures, or even clear acrylic for a clean look.
I also label everything (yes, even for my husband). It helps whoever’s on diaper duty find things fast and keeps everything organized instead of turning into a diaper tornado.
Refill Routine: The Secret to Keeping It Working
Every few days, I do a quick “restock check.” I make sure each station has enough diapers and wipes and add anything missing. I keep bulk supplies in one main closet so I can refill all the stations in just a few minutes.
If you like being extra organized, stick a little checklist in each basket. That way, you’ll know when something’s running low before you’re caught mid-change without a diaper. (Been there. Don’t recommend.)
Bonus Hacks for Busy Moms
- Keep a mini diaper kit in your car for on-the-go changes.
- Add a small trash bin or odor-proof bag if the space allows.
- If you live in a two-story home, consider one rolling caddy that moves with you during the day.
- Keep wipes everywhere — seriously, you’ll use them more than anything else.
Final Thoughts: Because Diapers Don’t Wait
Babies are unpredictable, and diaper changes happen everywhere. Setting up mini changing stations throughout your home keeps things simple, clean, and stress-free, and saves you from those “oh no” moments when the nursery feels miles away.
It doesn’t have to be fancy. Just smart.
Because diapers don’t wait, and neither should you.